
How to use StoreCanvas
Everything you need to go from raw app screens to a submission-ready App Store listing: screenshots, copy, icon, and preview.
The workspace
StoreCanvas has four tabs, switched from the picker in the middle of the toolbar. The app opens on Screens.
| Tab | What it does |
|---|---|
| Icon | Design your app icon and export every required size. |
| Screens | Build device-framed screenshots for iPhone, iPad, and Mac. |
| Text | Write every App Store Connect field with live character counters. |
| Preview | See the finished listing the way shoppers will. |
The rest of the toolbar, left to right: Projects (save and return to the board), the tab picker, Toggle Panel (show or hide the right-hand inspector), Generate with AI (Icon tab only), the Export menu, and Settings.
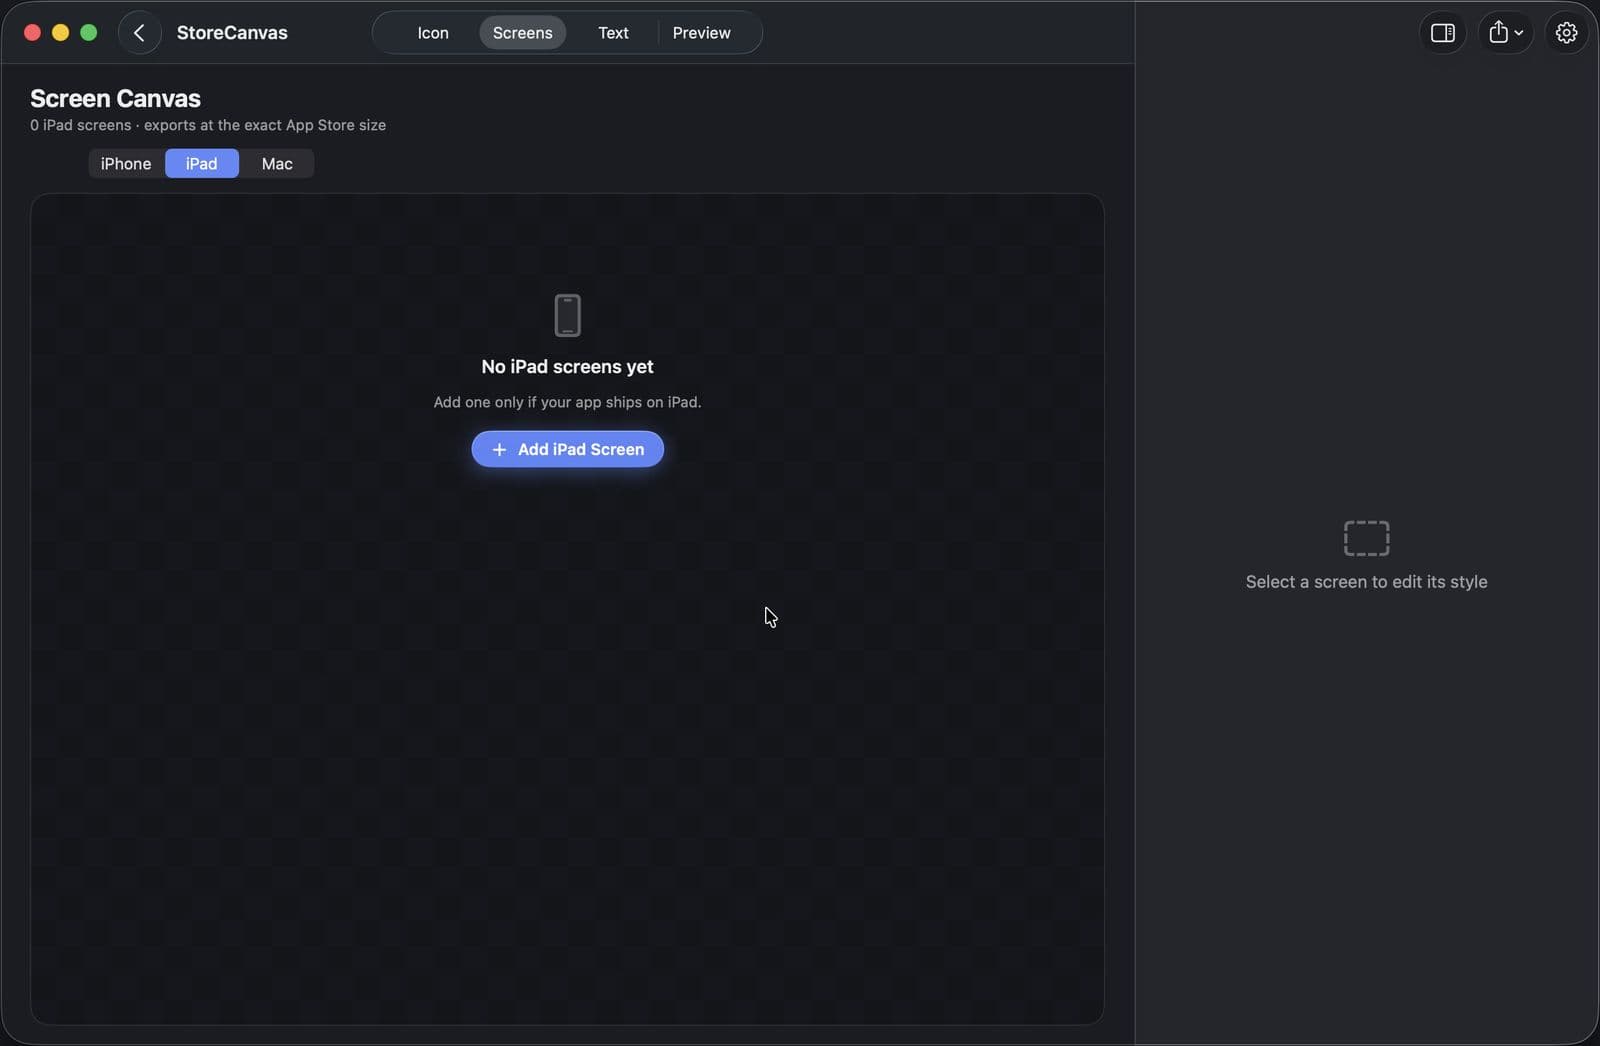
Everything autosaves as you work. There is no Save command and no unsaved-changes state to worry about.
Under Settings → Appearance you can set Theme to System, Light, or Dark. It applies to the whole app and is remembered between launches.
Projects
Each app you market is a project: screens, copy, icon, and brief all in one place.
- Launch StoreCanvas. You land on the project board.
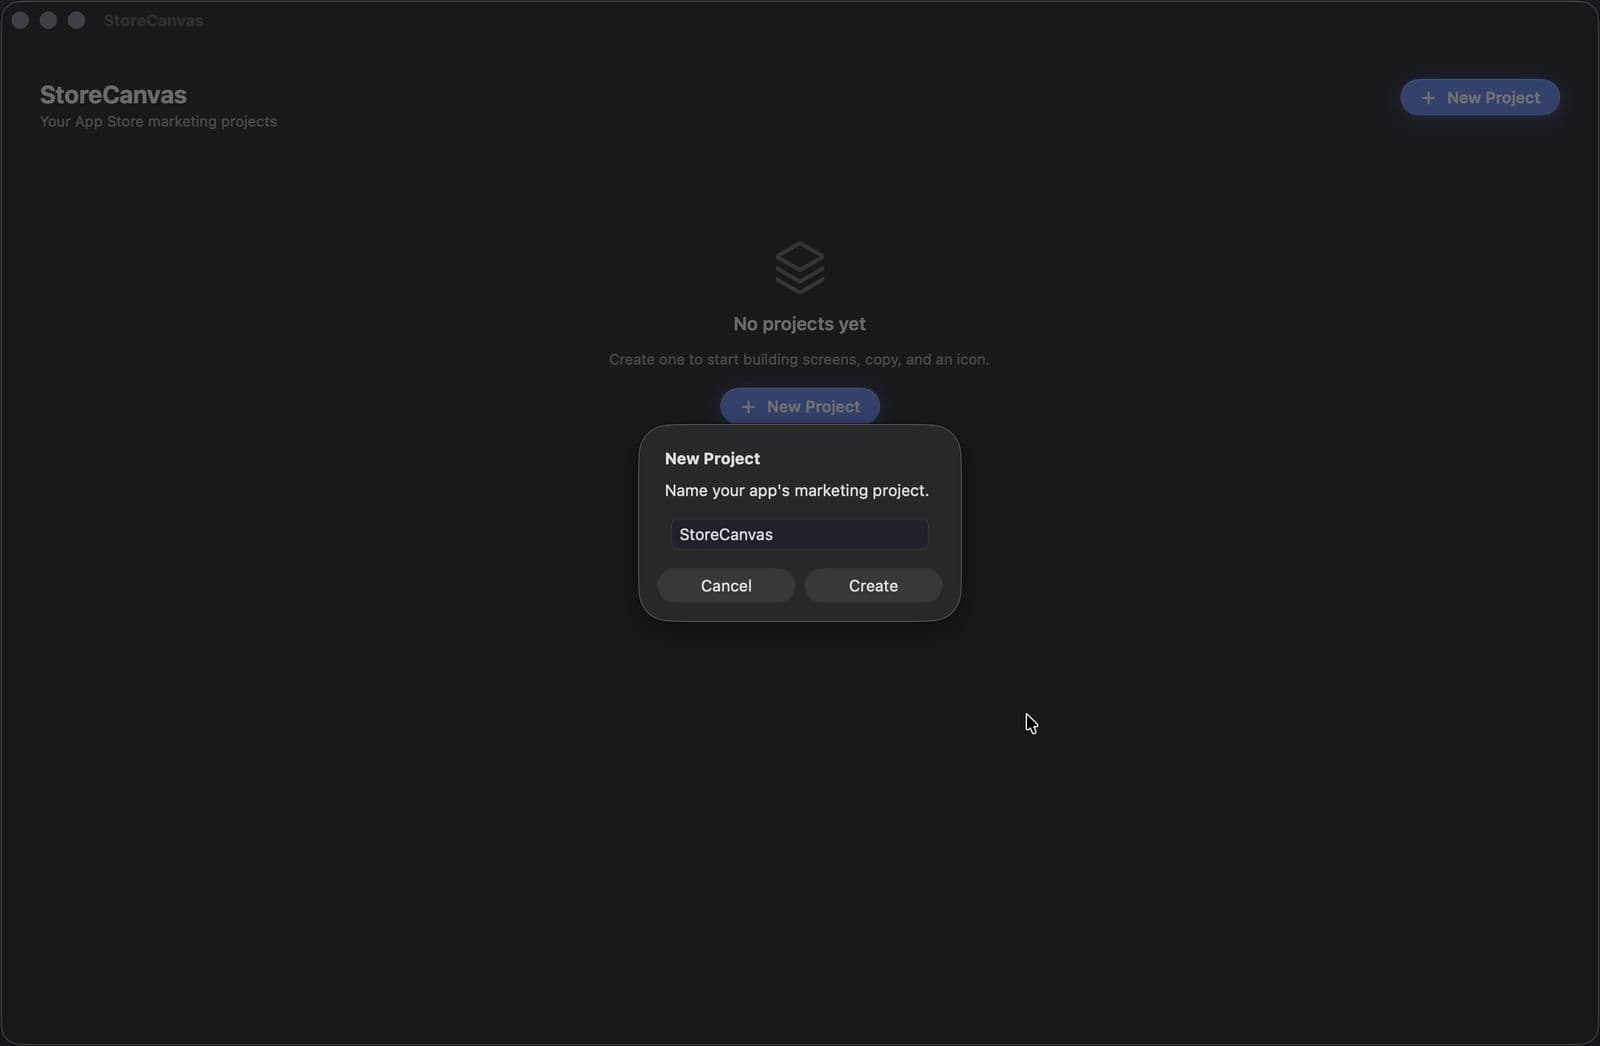
- Click New Project and name it after your app. (Leave the name blank and it becomes Untitled.)
- Click a card to open that project. Click Projects in the toolbar to come back; your work is already saved.
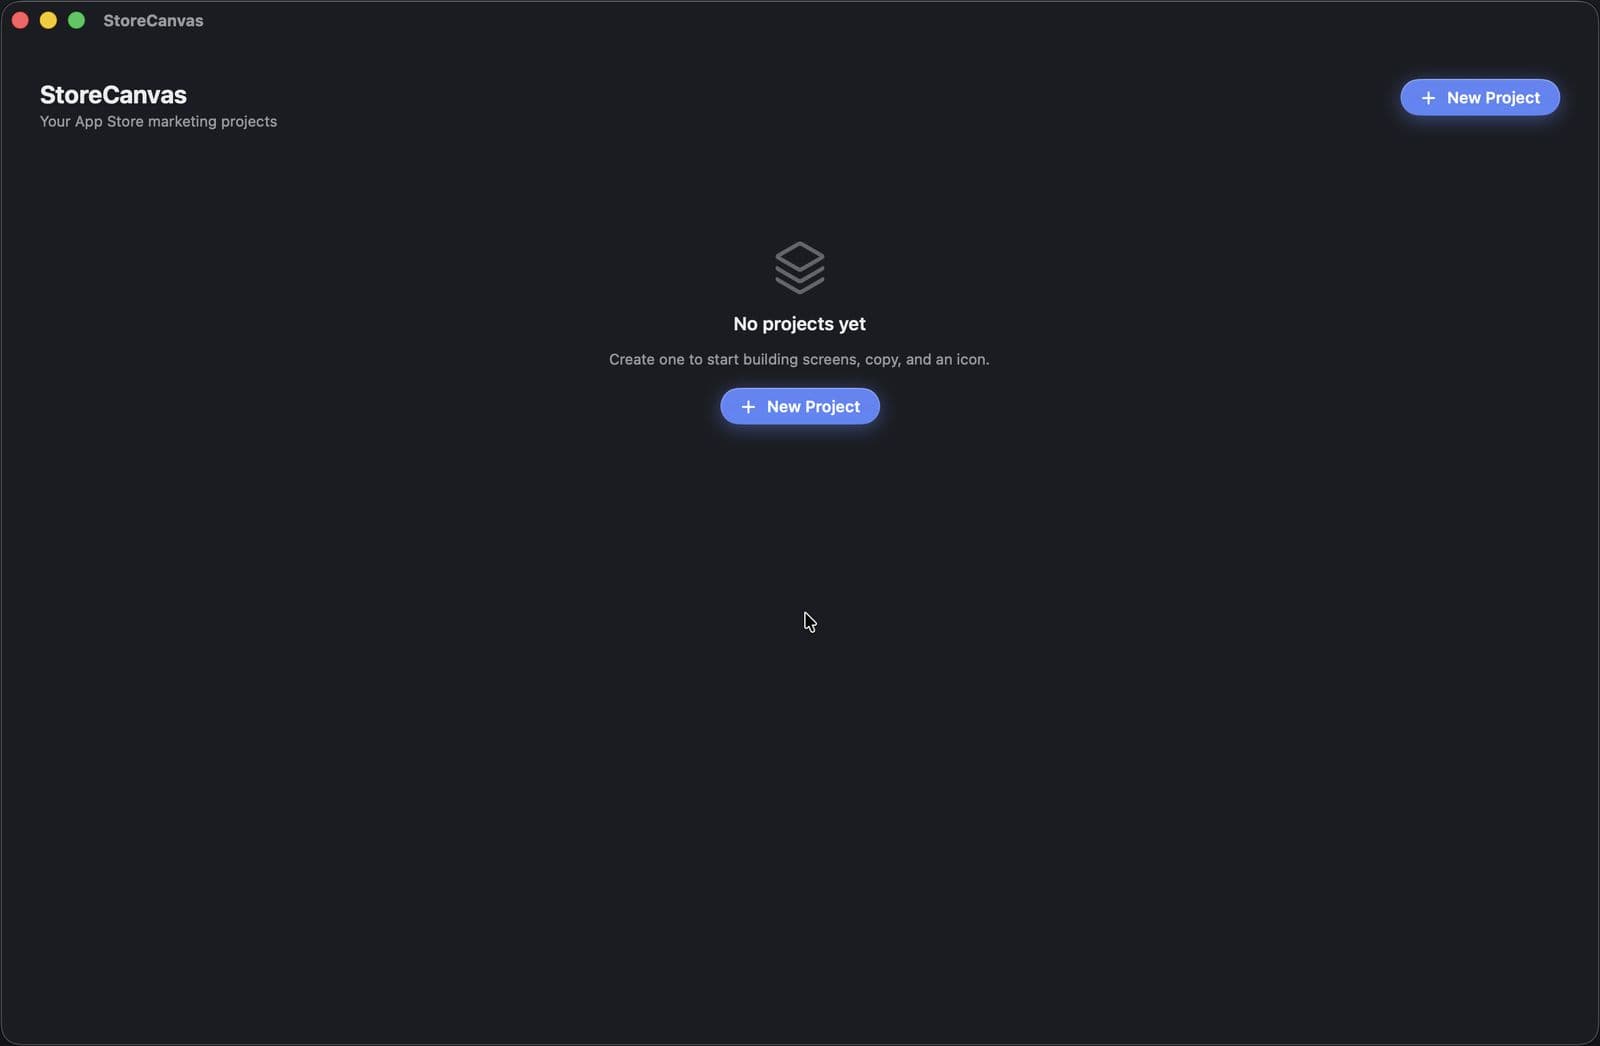
Each card shows your icon, the project name, and how many screens it holds. Three buttons sit on every card: Rename, Duplicate, and Delete. Right-clicking a card gives you the same actions plus Open.
Duplicate is the easiest way to try a second marketing direction. Duplicate, redesign the copy, then compare both in the Preview tab.
Projects are listed newest-first. Version snapshots you create with Archive This Version collect in a separate collapsible Archives section at the bottom of the board, ordered oldest to newest so you can see your listing evolve. See Versions & archives.
Design your app icon
The Icon tab builds a square icon and exports every size iOS and macOS require.
- Open the Icon tab.
- Under Artwork, pick a Style:
- Monogram: type a letter or short word (up to 4 characters), set Text Color, and toggle Bold.
- Image: click Import Image… for your own PNG or JPEG, or describe an icon and click Generate to make one with AI. Artwork Size scales it from 30% to 95% of the icon.
- Under Background, choose Solid or Gradient. Gradient gives you two colors and a Gradient Angle.
- Check the three small previews under the canvas: 64, 40, and 29 px. A good icon still reads at 29.
- Export from the toolbar: Export → Export Icon Set.
You get a drop-in AppIcon.appiconset folder (every iPhone, iPad, and Mac size plus Contents.json) and a standalone AppStore-1024.png. Drag the folder straight into your Xcode asset catalog.
Icons export opaque and square: no transparency, no pre-rounded corners. That is exactly what Apple wants; the system rounds them for you.
Build your screenshots
Open the Screens tab and pick a platform: iPhone · iPad · Mac. Each platform is its own independent set; build only the ones your app ships on. Click Add Screen to add a frame, then select any frame to edit it in the right-hand panel.
Add your app screenshot
The Media section at the bottom of the panel is where your real app screen goes. You can:
- drag and drop a file onto the drop zone,
- double-click the zone to browse, or
- right-click it for Choose File… and Remove Media.
Accepted formats: PNG, JPEG, MP4, and MOV. Videos loop silently in the frame. Once an image is in place, use Image Zoom (100–300%) and Image Position to frame it, or Reset Image Framing to start over.
Where do raw screenshots come from? iPhone and iPad: run your app in the Xcode Simulator and press ⌘S. Mac: press ⌘⇧4, then Space, then click your app's window.
The image inside the device must be your real app. Apple's review guideline 2.3.3 requires screenshots to show the app in use; fabricated UI can get a submission rejected. Use AI images for backgrounds and full-bleed panels, and real Simulator captures for the app itself.
Headline and subheadline
The Text Canvas section holds two lines of marketing copy that render in a band across the top of the frame:
- Headline: the main line, up to 3 lines tall.
- Subheadline (optional): a smaller supporting line, up to 2 lines.
Click Suggest with AI to have your connected provider write both from that screen's screenshot and your project brief. It asks for a punchy 2–5 word headline and a short supporting line.
Both lines auto-shrink to fit the band, so short beats long. A three-word headline displays far bigger than a ten-word one.
Typography
Headline Typography and Subheadline Typography are fully independent, so you can pair a heavy display headline with a light subheadline. The subheadline section only appears once you have typed a subheadline.
Each offers Font, Weight (Light through Heavy), Size, Line Spacing, and Tracking. Headline size runs 24–300 pt; subheadline 16–200 pt.
Add Font… lets you use any .ttf, .otf, or .ttc file you have downloaded, Google Fonts included. The font is copied into StoreCanvas and stays available across projects.
Background
Under Background, pick a Style:
- Solid: one color.
- Gradient: two colors plus a Gradient Angle.
- Image: a full-frame image behind the device. Import… your own, Generate… one with AI, or pick one you have already made from the AI Library. The trash icon removes it.
With an image background you get Image Zoom, Vertical Position, and Horizontal Position, enough to reuse one wide image across several screens with a different crop on each, plus Reset Image Framing.
The device
The Device section controls the hardware around your screenshot:
- Show Phone (or Show Window on Mac): turn it off for a full-bleed panel with just background and text. Perfect for a title card.
- Device: the exact model, from iPhone 6.9" down to 5.5", both iPads, or Mac. The caption below tells you the exact export size.
- Drop Shadow, Colored Phone Body (with a Phone Color picker), Size (70–160%), and Vertical Position.
| Device | Exports at |
|---|---|
| iPhone 6.9" | 1320 × 2868 |
| iPhone 6.7" | 1290 × 2796 |
| iPhone 6.5" | 1242 × 2688 |
| iPhone 6.1" | 1179 × 2556 |
| iPhone 5.5" | 1242 × 2208 |
| iPad 13" | 2064 × 2752 |
| iPad 12.9" | 2048 × 2732 |
| Mac | 2880 × 1800 |
Changing Device can move a screen to a different platform tab. Switch a frame to Mac and it leaves the iPhone set and appears under Mac.
Style the whole set at once
Three sync buttons carry a look across every frame so your set stays consistent:
- Sync Text Style To All Frames: fonts, weights, sizes, spacing, and tracking for both headline and subheadline.
- Sync Background To All Frames: style, colors, angle, and image framing.
- Sync Device Style To All Frames: device model, color, shadow, size, and position.
These sync across all platforms, not just the one you are viewing, so your iPhone, iPad, and Mac sets share one look.
Connect your AI
StoreCanvas is bring-your-own-key. Your key is stored only on your Mac and StoreCanvas calls the provider directly: no account, no proxy, no markup. AI is entirely optional; every design feature works without it.
- Open Settings from the toolbar.
- Next to a provider, click Get a key ↗, create a key on their site, and paste it in. Keys save as you type; the dot turns blue when connected.
- Choose your Copywriter (writes store text) and Image Generator (creates artwork).
| Provider | Can do | Best for | Get a key |
|---|---|---|---|
| Anthropic (Claude) | Text | The strongest App Store copywriting | console.anthropic.com |
| Google (Gemini) | Text + images | Generous free tier. The easiest start | aistudio.google.com |
| OpenAI (GPT) | Text + images | Strong all-rounder | platform.openai.com |
A good combo: Claude as Copywriter, Gemini as Image Generator. Claude writes the best copy but cannot make images, so pair it with one that can.
You pay your provider directly at their API rates, typically pennies per generation.
AI images & your library
Anywhere you can generate an image, you get a prompt box, a Source picker (your connected image providers), and a Place As choice:
- Background: sets the art behind the device. This is the safe, recommended use.
- Inside the Device: replaces your app screenshot. Fine for exploring, risky for submission.
Images generate full-bleed at the right shape for the screen (landscape for Mac, portrait otherwise) and you can fine-tune with the zoom and position sliders afterward.
Every image you generate is saved to your AI Library automatically. Click AI Library in the Background section to browse them as a thumbnail grid, newest first, and reuse any one on any screen, any platform, or any project. No regenerating and no paying twice. Show in Finder opens the folder itself.
Write your store copy
The Text tab is a copy center for every App Store Connect field, with a live counter on each one.
- Fill in Listing Details first: developer name, category, age rating, and version. These feed the Preview tab and name your export folders.
- In the right panel, write a Project Brief: 2–4 sentences on what your app does and who it is for.
- Click Generate All Copy to fill every field from the brief, or use the ✨ on any single field.
- Use the copy button on any field to paste it straight into App Store Connect.
| Field | Limit | ✨ AI |
|---|---|---|
| App Title | 30 | Yes |
| Subtitle | 30 | Yes |
| Promotional Text | 170 | Yes |
| Keywords | 100 | Yes |
| Description | 4000 | Yes |
| What's New | 4000 | Yes |
| Marketing URL | 500 | — |
| Support URL | 500 | — |
Counters are blue in range, amber from 90% of the limit, and red at it. Fields hard-stop at Apple's exact maximums, so you cannot paste your way over. Every field also has a clear button, and if you clear by mistake, an undo arrow appears in its place.
Keywords have no spaces after commas on purpose. Every character counts against the 100-character limit, and the App Store ignores spaces anyway.
Generate All Copy overwrites whatever is already in those fields. It writes them in order so later fields build on earlier ones, but if you have hand-tuned a title you love, use the per-field ✨ instead.
The ✨ buttons stay hidden until you have connected a provider and written a brief; that is what the AI writes from. It also looks at up to four of your screenshots to understand the app.
Preview your listing
The Preview tab assembles everything into a realistic App Store product page: icon, title, subtitle, what's new, your screenshots, description, and the information rows.
- Open the Preview tab.
- Toggle iPhone · iPad · Mac to see how each store presents your listing.
- Export it from Export → Export Listing Preview to share for feedback.
The ratings, reviews, and privacy sections are realistic placeholders so the page feels complete. The two reviews are marked SAMPLE, and the privacy cards are generic examples, not your real data.
Exporting
The Export menu in the toolbar offers the current tab's output plus Export Everything….
| Action | What you get |
|---|---|
| Export Screenshots | The selected platform's screens at exact App Store pixels, as iPhone_1.png, iPhone_2.png, … |
| Export Icon Set | AppIcon.appiconset/ plus AppStore-1024.png |
| Export Text Document | A plain-text file of every field with its character count |
| Export Listing Preview | The mocked product page as a PNG |
| Export Everything… | All of the above in one version folder |
Exports organize themselves into a version folder named from your Version field (v1.0/iPhone/, v1.0/AppIcon.appiconset/, and so on) so each release stays separate on disk.
Export Everything… is the one to use at submission time: every platform you have built, the icon set, and your copy document, all in a single folder named by version.
Exporting is the one paid feature. Design as much as you like for free, and unlock once when you are ready to ship. Export Listing Preview stays free, so you can always share a mock for feedback.
Versions & archives
When it is time to ship an update, snapshot where you have been:
- In Text → Listing Details, click Archive This Version. A frozen copy of the whole project (screens, copy, icon, and brief) appears on your board named “YourApp v1.0 archive”.
- Bump the Version field to 1.1.
- Rewrite What's New. The ✨ writes proper release notes.
- Update whatever changed and re-export. It lands in a fresh
v1.1/folder automatically.
Archives collect in their own collapsible section on the project board, ordered oldest to newest: a visual history of how your listing has evolved.
Where your files live
Everything StoreCanvas creates lives in one folder on your Mac: ~/Library/Application Support/StoreCanvas/
| Folder | Contents |
|---|---|
| Projects/ | One file per project |
| Media/ | Every screenshot and video you have imported |
| Library/ | Your AI Library images |
| Fonts/ | Fonts you have added with Add Font… |
Imported media is copied in, so moving or deleting the original file later is safe. StoreCanvas also never deletes media from disk, even when you delete a screen or a project, so an archive from six months ago still renders correctly.
Backing up that one folder backs up all your StoreCanvas work.
Troubleshooting
- The ✨ buttons are not there
- Connect a provider in Settings and write a Project Brief in the Text tab's right panel. Both are required.
- “Set Up Image AI”
- Claude is text-only. Connect Gemini or OpenAI for image generation.
- My screenshot looks cropped in the device
- Adjust Image Zoom and Image Position in the Media section, or click Reset Image Framing.
- My headline is tiny
- It auto-shrinks to fit the band. Shorten the text or raise the size limit in Headline Typography.
- A screen vanished from its tab
- Check the Device picker. Changing the device moves that screen to the matching platform.
- Export is locked
- Exporting is the paid feature. Unlock once, keep forever, including every future update.
- My subheadline options disappeared
- The Subheadline Typography section only shows when the subheadline field has text in it.
Still stuck? Contact support and include your macOS version, StoreCanvas version, and the steps that led to the problem.